Préparation
Primaire / Cataphorèse
Mastic
Apprêt
Fill In / FillClean® Aérosols
Vernis de finition
Vernis / Transparent
Accessoires
Nettoyer la zone endommagée et poncer avec P400.
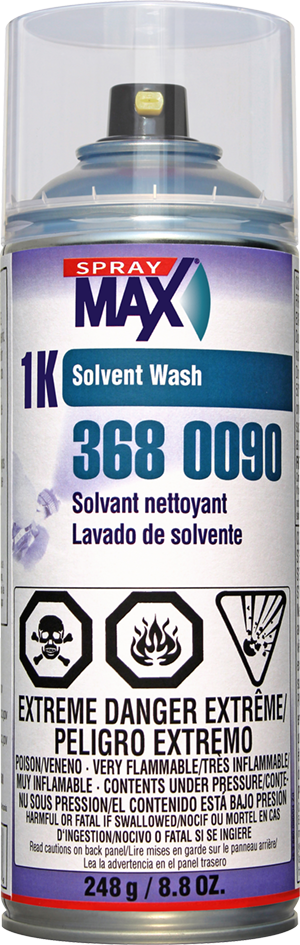
Nettoyer avec du dissolvant pour silicone.
Masquer soigneusement pour l'application de l'apprêt AC.
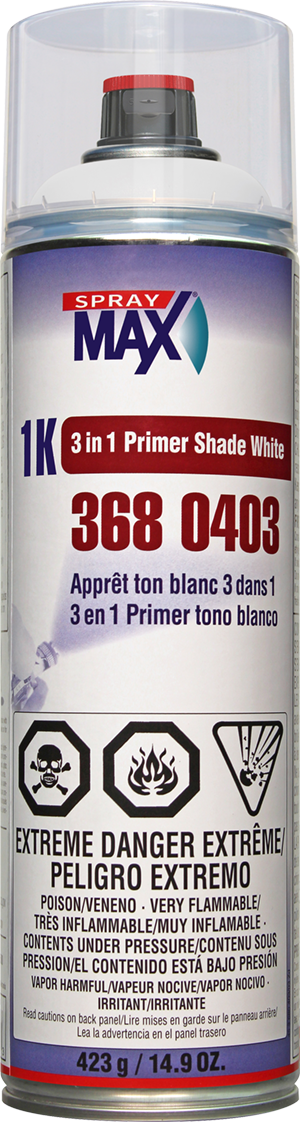
Appliquer l'apprêt 3 dans 1, 1K en 2-3 couches fines.
Laisser sécher jusqu'à ce qu'il soit mat. Laisser évaporer entre les couches.
Ponçage à la main avec P600.
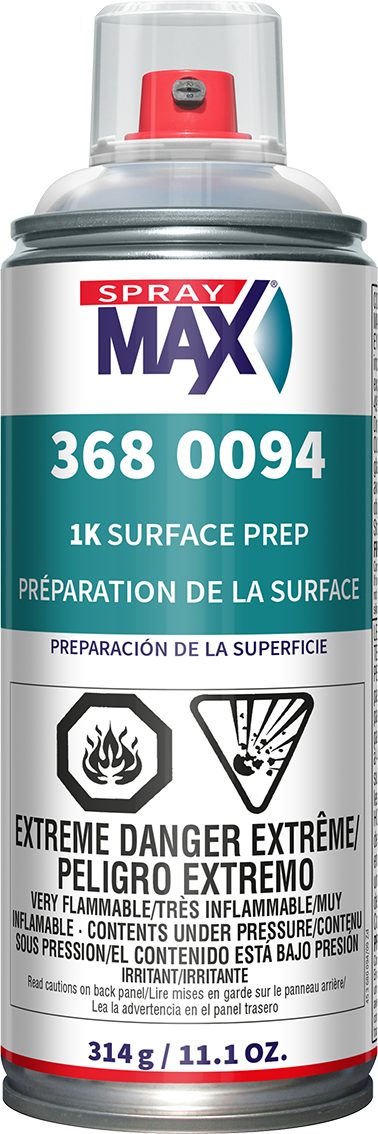
Nettoyer avec le 1K Préperation de la surperficie.
Préparer pour la peinture de base en nettoyant avec un chiffon anti-poussière.
Appliquer la couleur préalablement mélangée. (Solution aqueuse ou base de solvant)
Peut utiliser un séchage accéléré.
Laisser évaporer entre les couches.
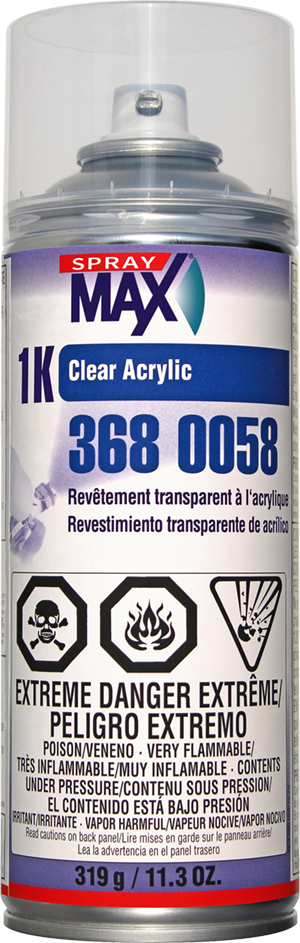
Après l'aération, appliquer un vernis transparent 1K. (SprayMax 3680058)
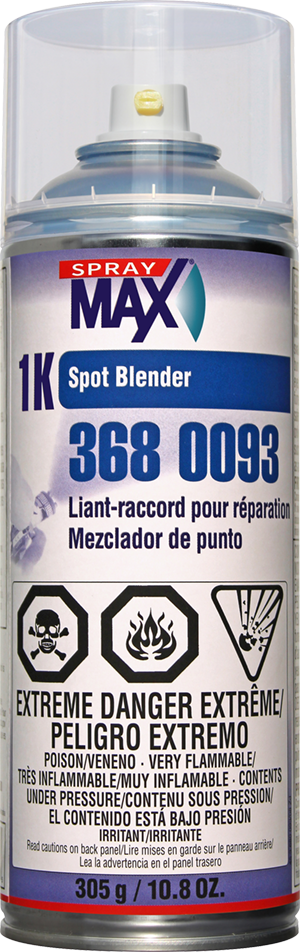
Appliquer le Liant-raccord 1K 3680093 au pourtour du transparent, séchage accéléré en option.
Après un séchage d'environ 20 min, un résultat comme neuf.
Riche en ingrédients actifs pour éliminer efficacement le silicone, la graisse, l'huile, la cire, la saleté, le goudron et la suie. Ce produit de ...
Agent nettoyant doux riche en ingrédients actifs pour éliminer efficacement le silicone, la graisse, l'huile, la cire, la saleté, le goudron et la ...
Le ‘’Primer Shade ‘’ 3 dans 1 est offert en trois couleurs. Cet apprêt garnissant offre une excellente adhérence sur différents substrats et une bonne ...
Couche transparente 1K pour le revêtement rapide et scèllement à long terme des travaux de peinture de réparation et travaux de peinture sur les ...
Le Liant-raccord pour réparation 1K est un produit spécial pour les transitions de peinture homogène pour mélange de couches transparents 2K ainsi ...